Epic Story and an Epic Home!


We all have those moments when things just seem to align perfectly, and this is one of those moments for my amazing buyers. We’ve been good friends for many years and they reached out, ready to find a new home with a picturesque vision in mind. Vaulted ceilings, a setting with several trees, and space for a workspace in the backyard were just a few of the things on their list. It was an incredible adventure helping these two find their dream home, and when I say dream home I mean it – we found a stunning home that checked all of the boxes! Beautiful and unique, the stunning Northwest contemporary sits on a half acre lot with thoughtful design throughout the interior and exterior, including vaulted ceilings. This was such a fun home buying memory, I was pretty much tearing up when I opened the lockbox to get the key for the last time. Luckily, these two are good friends and I’m excited to see the many adventures that we have instore. Congratulations, friends!


BASICS OF FALL TREE CARE

It’s mid-October, we’ve had a couple of decent rain and windstorms, and the leaves are turning colors and starting to fall to the ground. The sound of a neighbor’s leaf blower midday on a Tuesday has us scrambling to hit “mute” on our Zooms.

Even Portlanders who love their trees and live for the beautiful fall colors are wincing with the knowledge that they will soon be spending the weekend raking and bagging leaves, hauling those bags to the curbside, and clearing gutters and drains, only to do it again the next weekend, and the one after that.

Think of autumn as tree time in the Pacific Northwest. It is an ideal time to assess the health of the trees on your property, especially those planted near your home or near powerlines.

The trees on your property gives homes to birds and other wildlife, provide shade, and enhance the look of your home and property. If not properly cared for, trees can also be accidents waiting to happen. A few years ago, as we were getting ready for school and work one morning, a huge crash suddenly shook the entire house. I was sure that a tree had fallen and hit our home. We ran outside, and realized that it was a neighbor’s house—a good 40 or 50 yards away—that had been hit by a falling limb. Thankfully, no one was hurt, but that experience made me aware of the potential danger. I called an arborist that very day.

And I recommend that you do the same! If you have never had your trees professionally inspected, it’s smart to do so. Make sure to choose an ISA-Certified arborist. This designation from the International Society of Arboriculture is your assurance that your tree guy or gal knows his or her stuff. I recommend the team at All Around Arbor Tree Service to clients, family, and friends. An arborist will help you to determine what type of care or intervention your trees might need, helping to keep the trees healthy, and ultimately, to help keep your property safe.

Further, make it a habit to visually assess your trees from season to season. Inspect for dying limbs and signs of pest damage. Prune branches as needed. Protect root systems with a 2–3 inch layer of mulch (but take care that the mulch doesn’t touch the bark of the tree). Over time, you’ll get to really know your trees. You might hug them, like a real Portlander. Or at the very least, you’ll be aware when something looks amiss, and you’ll be able to give your trees the care they need.

COVID-Inspired Home “Must Haves”

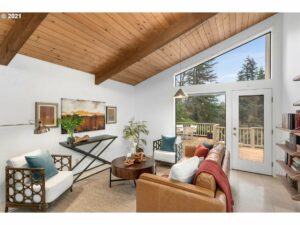
“We really want an open floor plan.”

I have heard that a lot in all my time as a REALTOR®! And no shade—when we remodeled our home five years ago (a complete, down-to-the-studs gut job), we too opted for an open floor plan. It made a lot of sense for our young family, and in many ways, it still does. We like to have a general sense of what the kids are doing and where they are in the house. I like that I can keep an eye on my first-grader while I’m loading the dishwasher.

However, since last spring, say, oh, mid-March, I have definitely noticed that an open floor plan is not what it once was. A functional door—one that opens and closes and blocks out noise and locks is suddenly a hot feature! The truth is, life has changed since last spring. We all know it; we all feel it. But humans are adaptable, and the way that people are approaching home buying is evidence of that.

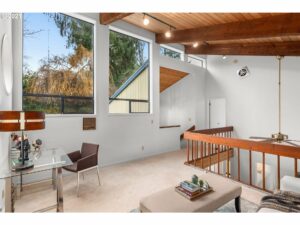
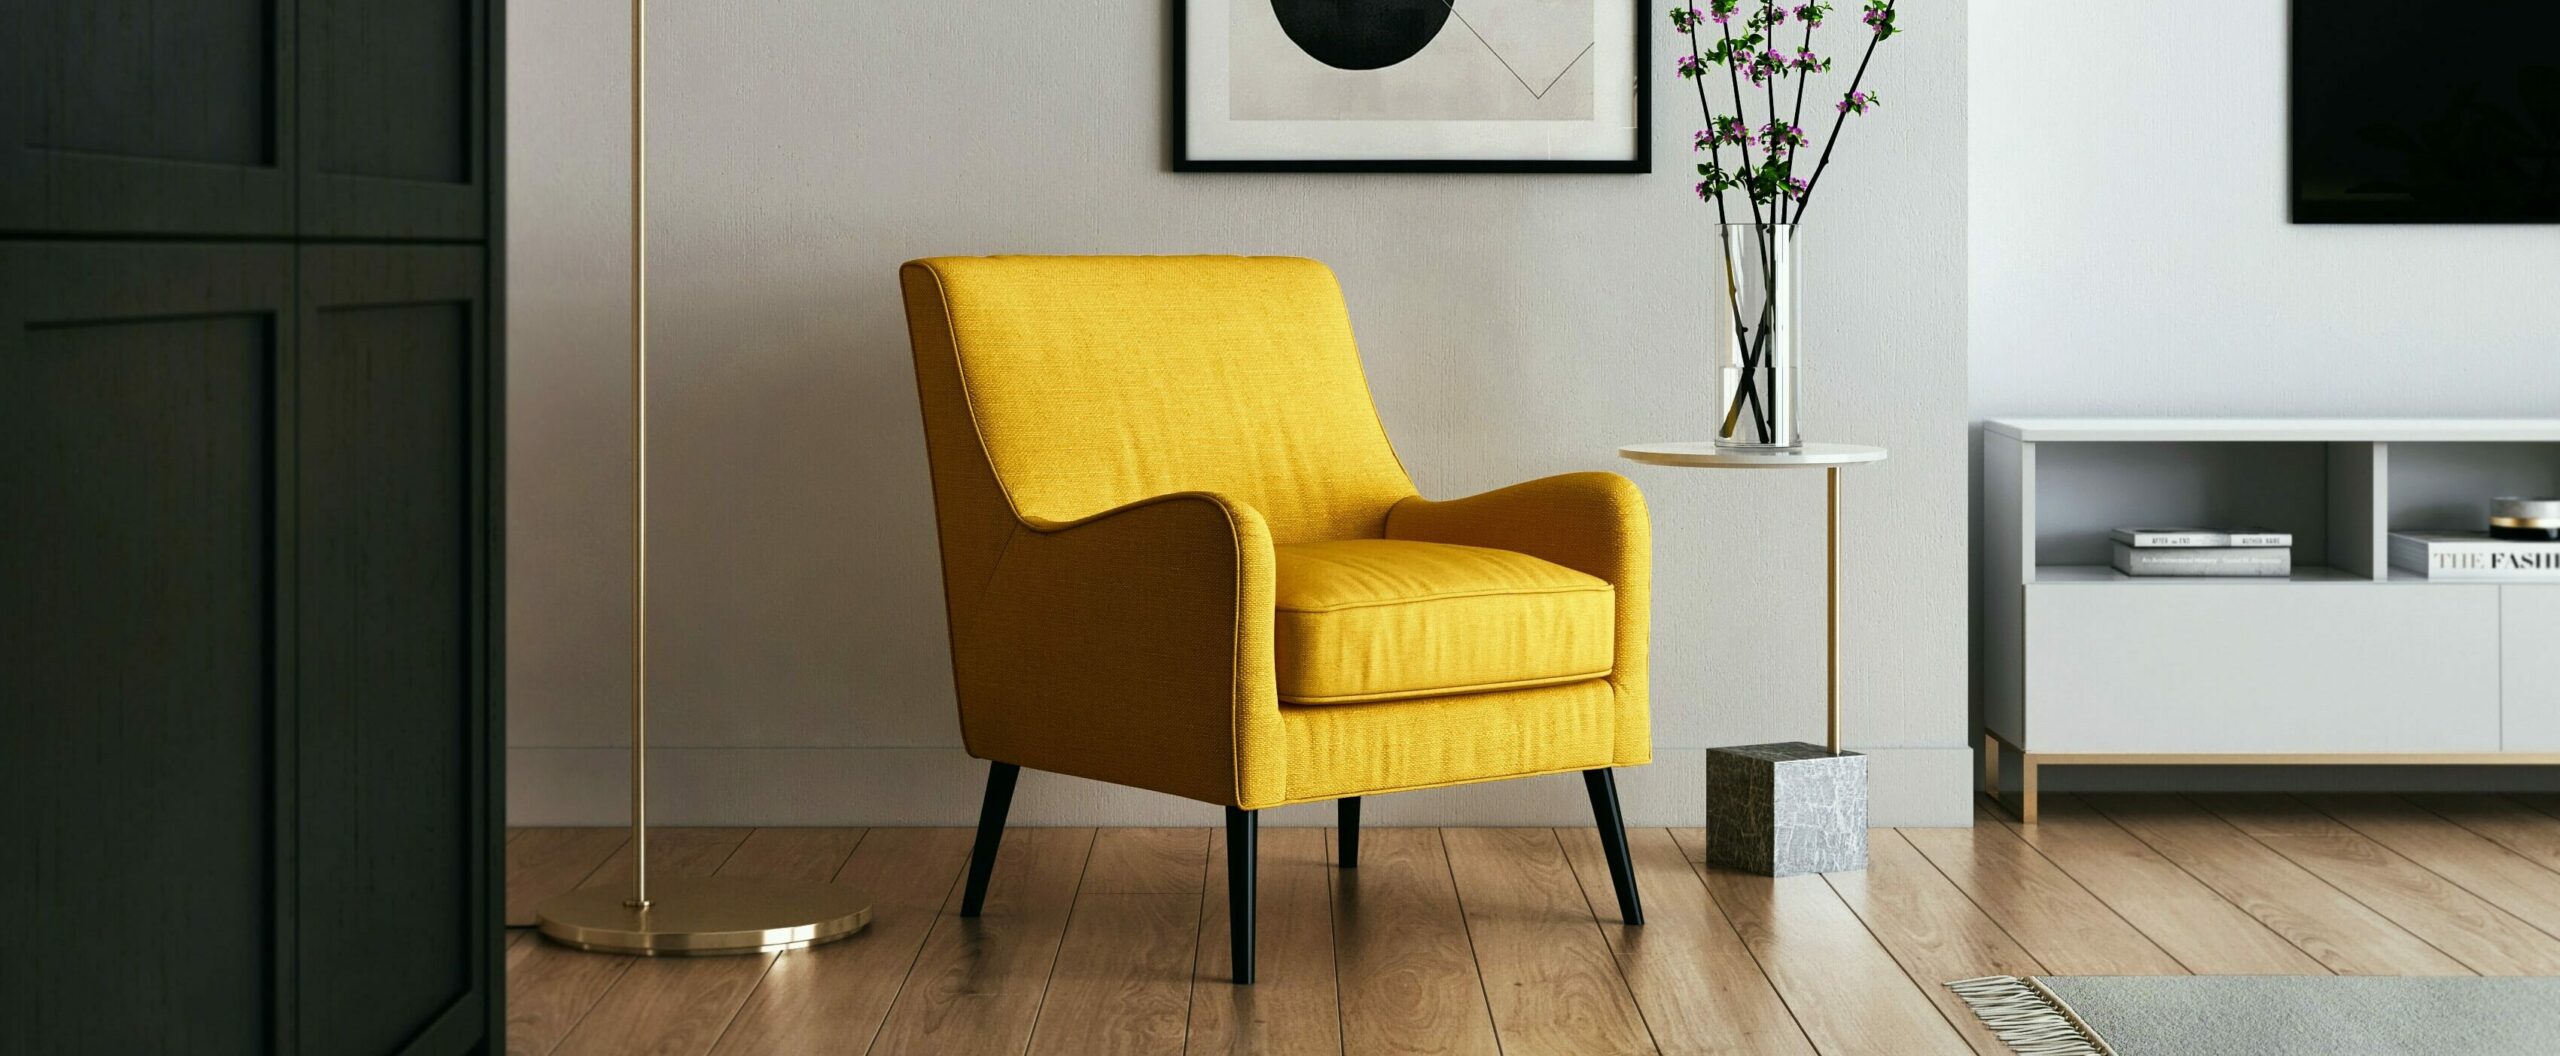
So what are people looking for in homes, and how drastically has it changed? The biggest thing I have noticed is that people want flexible spaces in their homes. A den or a family room is great; a den or a family room that can serve as a home office (complete with a door that closes) is better. When families look at kids’ bedrooms, they want ample space for a bed and a dresser, but they also want to be able to comfortably fit a study space that can accommodate online learning.

A home’s entryway is no longer just the door through which one enters or leaves the house. Now, it’s a barrier between the safety of home and the germ-ridden outside world. People want to be able to take off and store their shoes, bags, and coats, and to sanitize the things they bring into their homes—groceries, packages, and so forth. A powder room near the front door is no longer merely a space for guests; it’s now a handwashing and sanitization station.

Storage has always been high on the must-have lists of home buyers; now storage is crucial. People want ample space to keep back stock (toilet paper! canned goods!). Cupboards, walk-in pantries, under-the-stairs storage closets, fridge and freezer space—the more, the better.

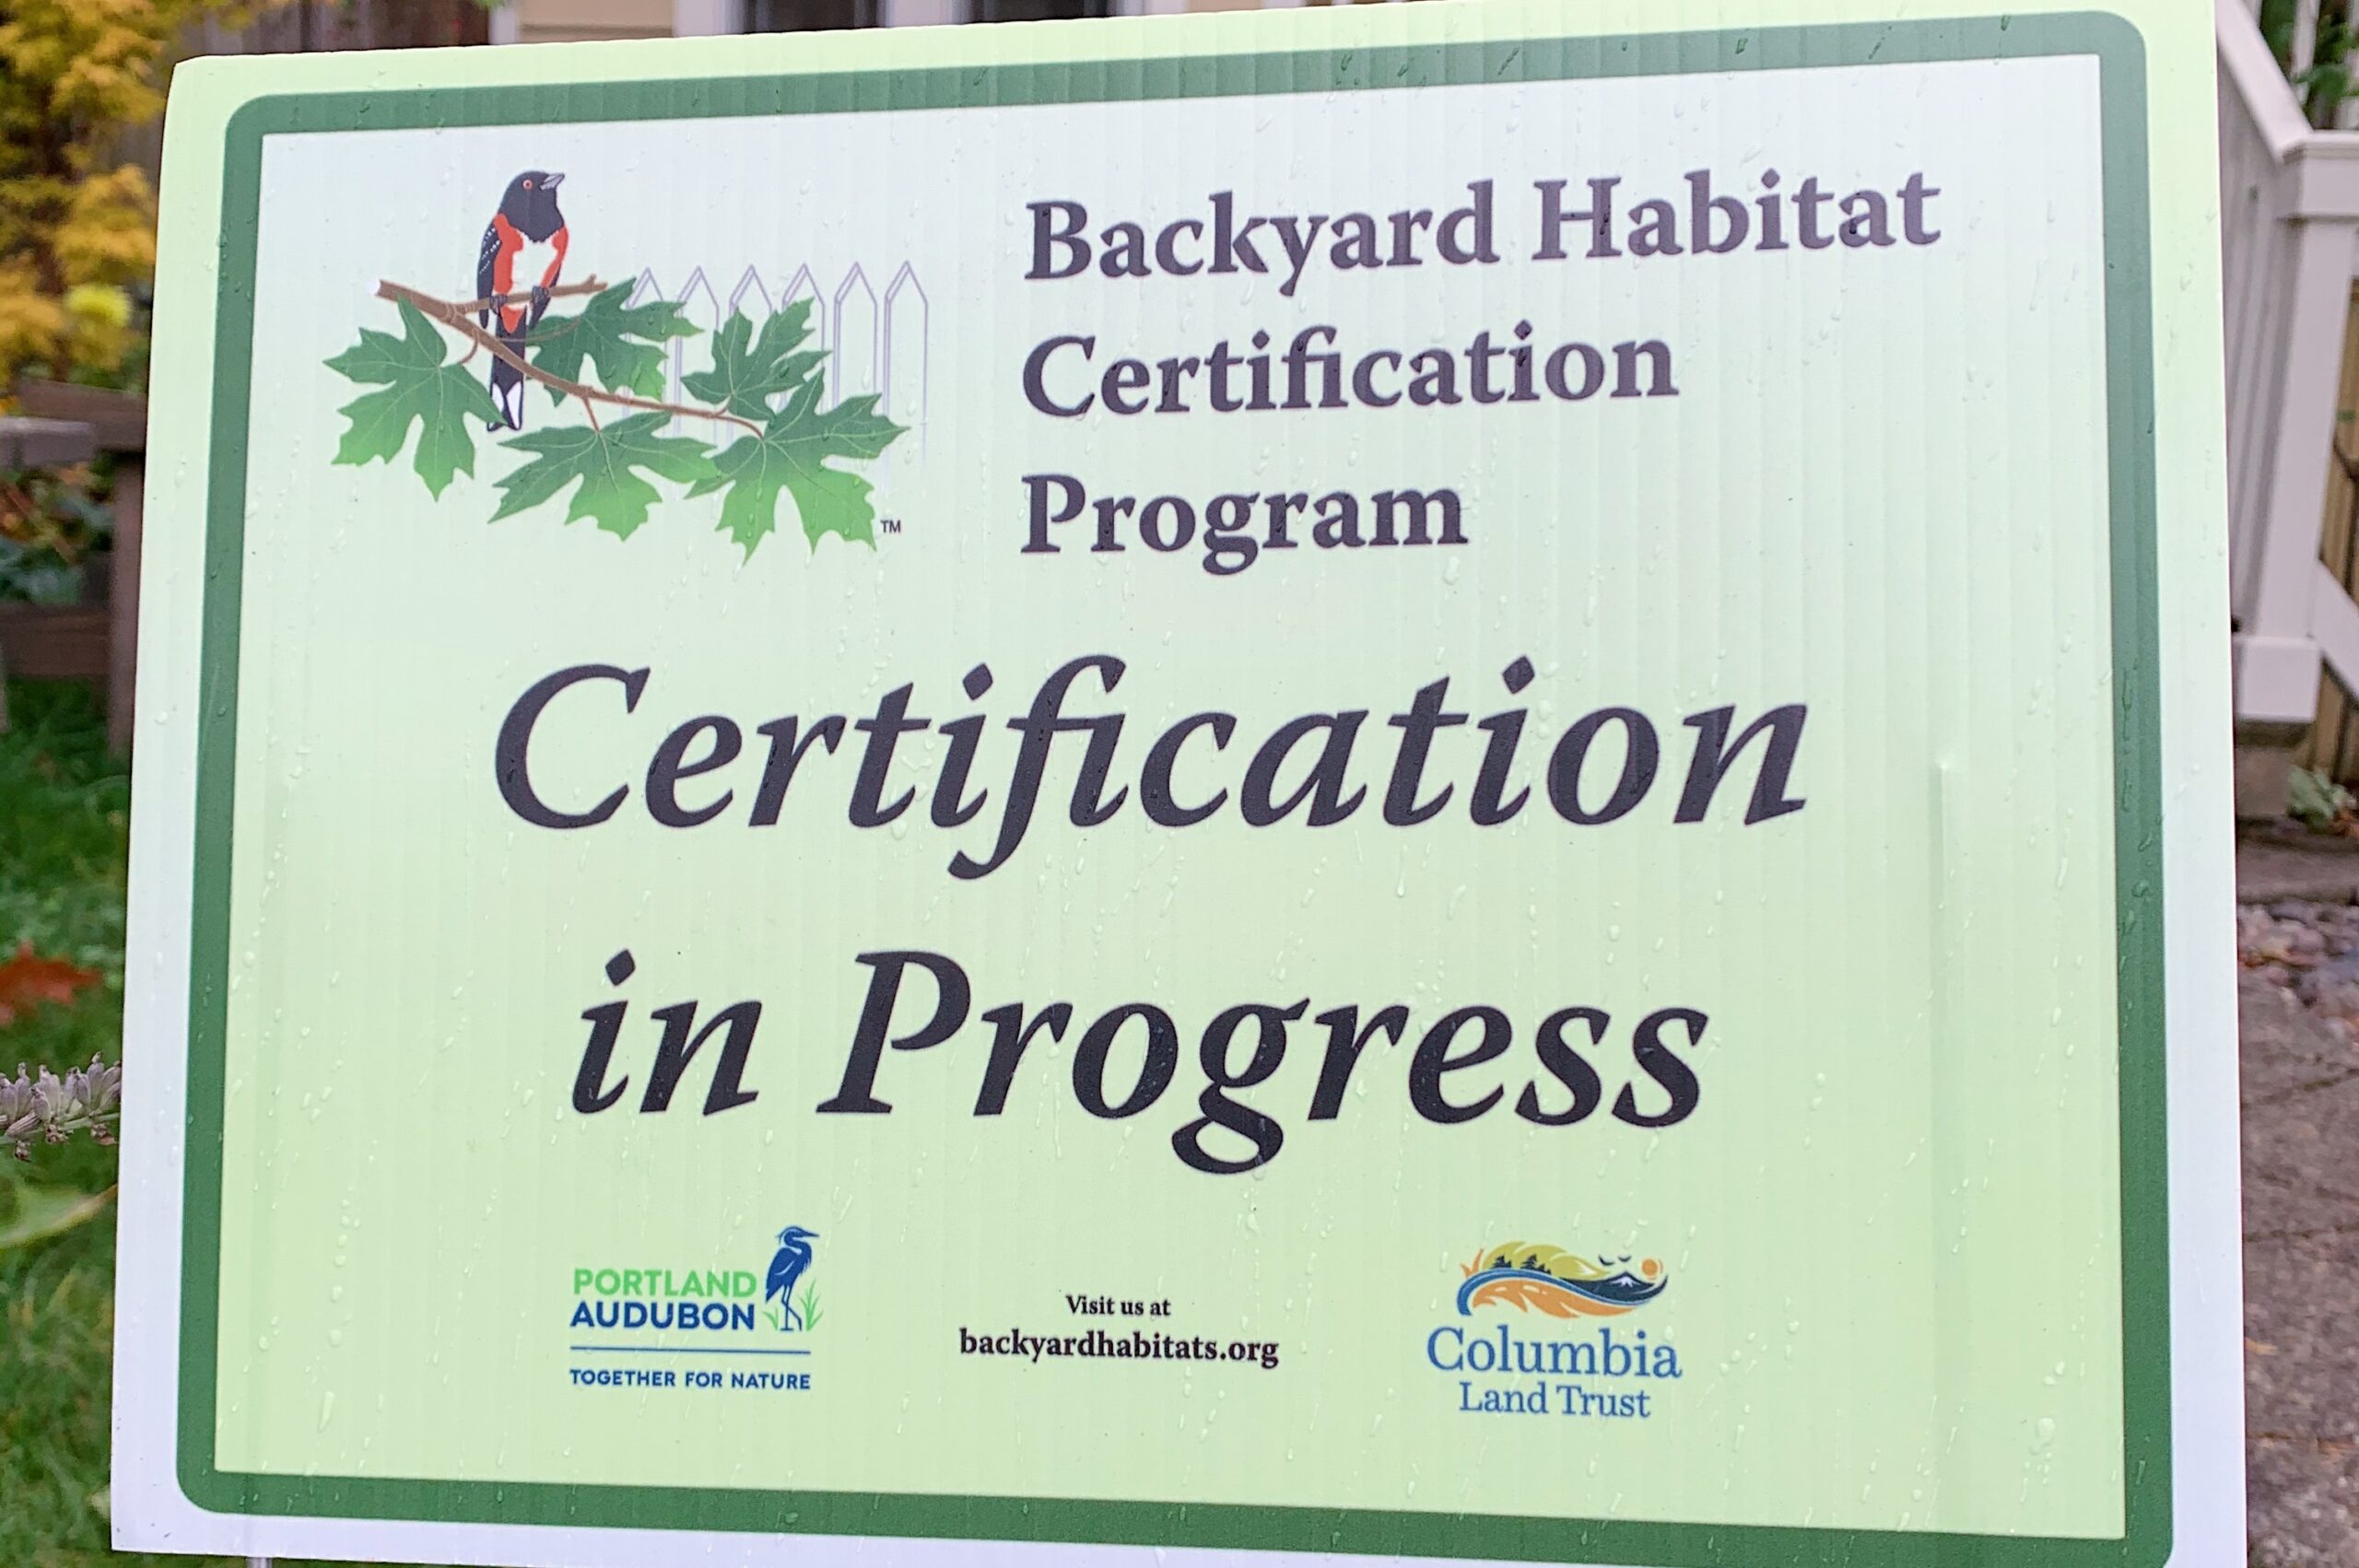
And of course, outdoor space is at a premium. People have realized the correlation between time spent outside and mental health, and easy access to the outdoors is very high on wish lists. Some people are now in search of large backyards; others want space to garden and grow food. Some people are content with a small deck or patio space.

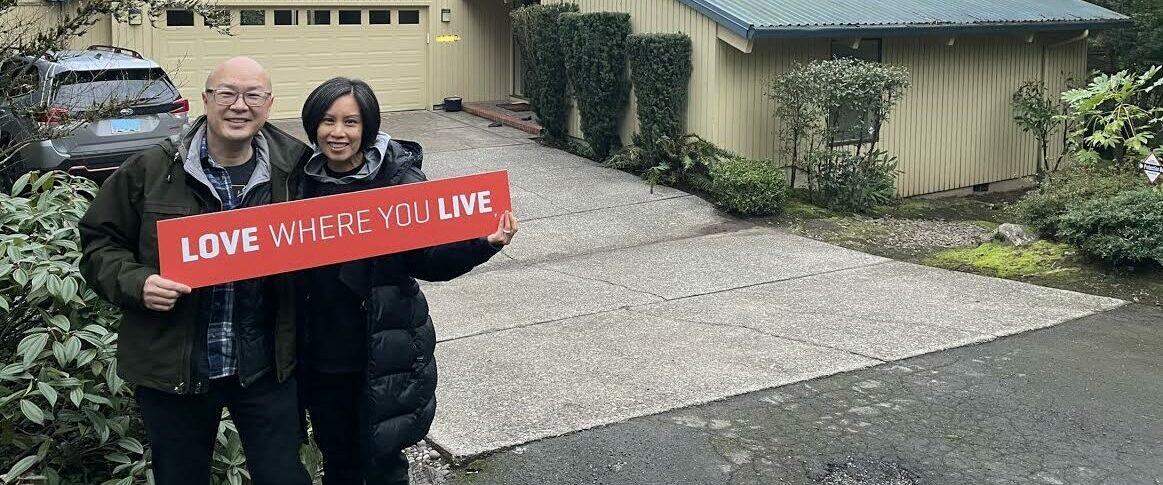
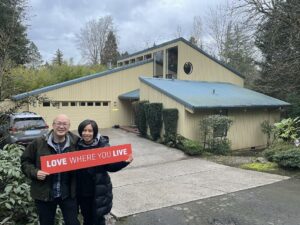
How has the pandemic made you view your space? What changes or modifications have you made in the way you live in your home? What would you look for in a new home? Are you considering buying or selling your home to accommodate changes in your life since COVID began? I would love to help; please reach out if you’d like to discuss buying or selling (or both!) your home.

INSIDE A REALTOR’S CAR

There are weeks when I feel like I live in my car. Although Living Room Realty has gorgeous office space—including one close to where I live—the reality is that I’m on the go the majority of the time.

While it might feel like I live in my car, the contents in the back of my car could in fact sustain me for days—maybe weeks. My car essentially functions as a mobile office—and more. I have to be ready for pretty much anything. A client recently called me out on this in an online review—in the nicest way possible—and it made me laugh, but also (weirdly?) made me a little bit proud. I consider it my job to take care of my clients, and the random assortment of items that I lug around helps me to do just that! So what’s back there?

  1. A flashlight. Sometimes I have to go searching for lockboxes in weird places. Sometimes the walkway to the house isn’t well-lit. Sometimes we need to search in a creepy basement for a fuse box. A heavy-duty flashlight has come in handy many, many times.
  2. A tape measure and a laser measurement tool. Either or both of these items are great to have on hand to get accurate room measurements—important when a client is considering having the house painted, installing new flooring, or purchasing furniture.
  3. A vacuum and/or broom and dustpan and/or mop. Floors get dirty—especially in houses that are being shown. When I list a house, I like to pop by and make sure it has stayed nice and clean, even through multiple showings.
  4. Shoe covers. See #3. I keep multiple boxes of shoe covers on hand. I keep them in the entryway of houses I have listed, and I bring them along for myself and buyers when we’re walking through other homes.
  5. A rubber mallet and extra signs. Signs get blown away, stolen, damaged. When I list a house, I want to make sure that it’s easy to find. With a rubber mallet and extra signs on hand all the time, I can always pop up a quick replacement as needed.
  6. Light bulbs and batteries. Lights burn out and smoke detectors start to chirp at the most inconvenient and unexpected times. To a prospective home buyer, these can be taken as subtle signs that a home isn’t well-maintained. I try to be ready to make a quick swap as needed!
  7. A first aid kit. Okay—this one is as much for my kids as it is for my clients. But it’s always a good idea to have a first aid kit on hand!
  8. Cleaning supplies, including window cleaner and paper towels, Clorox wipes, and trash bags. These items come in especially handy when prepping for or cleaning up after an open house.
  9. Safety supplies. These days, I keep a supply of disposable face masks, disposable gloves, hand sanitizer, and Lysol wipes in my car at all times. I want to make sure that my clients are safe, and that we’re respectful of the homes we tour.
  10. Office supplies. I keep an extra box of business cards in the glove box so that I’m never caught without. I also like to keep pens and pads of paper on hand so that I—or a client—can jot notes.
  11. Leaf blower.  I make this addition to my car in the Fall, because….leaves.

And it goes without saying that I like to keep snacks and water in the car for those days when I don’t have time to stop! Even after 14 years as a real estate agent, I still come across odd or unexpected situations that inspire me to add to my stash of supplies!

BACKYARD HABITAT CERTIFICATION IN THE PORTLAND METRO AREA

Since lockdown began last spring, we’ve walked around our quadrant of Portland more than ever before, leisurely strolls around our neighborhood, brisk walks for exercise, and more ambitious jaunts into adjacent neighborhoods that we haven’t ever taken the time to explore. Although I’ve seen the little “Backyard Habitat Certification” signs and placards here and there around Portland, it has been over the last 6 or 7 months, as we’ve walked the neighborhoods of southwest Portland, that they seem to be everywhere.

Curious, I went in search of more information and stumbled across a treasure trove of resources. Together with the Columbia Land Trust and Portland Audubon, the Backyard Habitat Certification Program supports urban gardeners in their efforts to create natural backyard habitats.

So what does this mean? The focus is make urban areas friendlier, healthier places for humans and wildlife alike, one garden at a time.

How is this done? The Backyard Habitat Certification Program guides homeowners in five key areas: elimination of noxious weeds, planting native plants and trees, reduction (or elimination!) in the use of pesticides, responsible management of storm water, and wildlife stewardship. A technician will first meet with you and do a careful walk-through of your property to assess your current landscape, gather information, and discuss your goals. Then, the technician uses this information to writes a comprehensive report that includes recommendations specific to your yard and goals.

How do I get started? You can begin the Backyard Habitat Certification Program process by enrolling here. You’ll pay a one-time $35 enrollment fee, and you’ll be placed on a waiting list for a site visit.

In the meantime, the Backyard Habitat Certification Program website is home to a wealth of resources, including their certification criteria and guides that will help you to identify and select native plants.

I was amazed to learn that there are over 6,000 backyard habitats in the greater Portland area! The programs is growing by leaps and bounds. Would you consider joining this program? I’d love to hear about your experience!

Pro Tips for Living in a Home That’s For Sale

The idea of getting a home ready to sell is overwhelming for most people. Selling a home that you’re still living in is even more of a daunting prospect. Keeping a home tidy is one thing—keeping a home sparkling and ready-to-show at the drop of a hat is quite another.

For many people; however, that’s exactly what they’re faced with when they decide to list their home but don’t yet have another place to go. And while living in a home that is for sale is never fun, it can be made less painful with planning and preparation.

  • Deal with your stuff. This is absolutely step number one. Give yourself plenty of time before listing your home to go through the accumulated items in your home. Go through each room and make four piles: donate, toss, and store. Now is the time to get rid of clothes and shoes that don’t fit, random pieces of unused furniture, and forgotten toys, extra dishes and kitchen items, books you no longer read, and so forth. Once you have gathered all items that you intend to donate, the next step (and this is important!) is to actually, you know, donate them. In other words, don’t simply pile everything in your garage or spare bedroom.

Make similar piles of items that need to be thrown away or recycled: extra cords that don’t go to anything particular, games with missing pieces, anything that is broken. Go through documents and shred or recycle anything you no longer need (old bank statements, for example). Clean out your cupboards and fridge: for the next little while, you might be able to manage with one kind of mustard.

Once you’ve donated and tossed or recycled extraneous items in your home, it’s time to take another pass through each room. While conventional wisdom says to remove anything personal, it’s not always necessary—but you should remove and pack most of your personal items. A photo on your night table is probably alright; a gallery wall of family photos is a little much.

Other things to pack up include seasonal clothing and bedding, knick-knacks, books (it’s alright to keep a neutral, attractive coffee table book on display), extra dishes, and extraneous cookware. By reducing the number of items in your home, you’re accomplishing two tasks: 1) minimizing the amount of clutter and 2) maximizing the impression that there is ample storage throughout the house.

  • Protect your privacy and possessions. Consider for a moment the fact that strangers will be walking through your home. Though they’ll likely be accompanied by their REALTOR®, it’s still important to take care to secure sensitive paperwork and documents and protect your prized possessions. Passports, social security cards, and personal documents should be gathered and stored in a safety deposit box or safe. Any items that are valuable or irreplaceable–jewelry, artwork, and medications–should likewise be kept away from your home while it is shown by REALTORS®.
  • Clean, clean, and clean some more. Once you have cleared the clutter, it’s time to get familiar with every baseboard, every shelf, and every nook and cranny in your home. Roll up your sleeves and locate your cleaning supplies. Windows should sparkle; floors should gleam. If you have carpet or rugs, now is the time to get them shampooed. Scrub the grout in the bathrooms and kitchens.
  • Pay attention to pets. It’s time for some tough love: prospective buyers—even those who love pets—will not necessarily love your pets. If you have a friend or relative who might be willing to take your pet for a length of time, call in that favor. You may even consider boarding your pet while your house is listed. At the very least, be ready to quickly remove any indicators of a pet’s presence—food dishes, leashes, treats, pet beds—before a showing. Also, be mindful that even the cutest creatures have an odor; do whatever you need to do to eliminate it.
  • Get an outside opinion. Ask a friend (not the one who tells you what you want to hear)—or better yet, ask your REALTOR® or their staging consultant—to look at your home with a critical eye. After all, it’s your space. You see it every day. You might be too close to analyze your home. Another trusted person can look around and help you to notice things that you may have overlooked.
  • Keep it up. Once your house is listed and ready to be shown, it’s necessary to maintain the level of tidiness that you worked so hard for. Dirty dishes should immediately be rinsed and put in the dishwasher. Laundry should be placed in the clothes hamper—and ideally, you’ll take it with you when you leave the house during a showing. If you’ve done your prep, there shouldn’t be an abundance of clutter, but whatever is left should be neatly tucked away. Run the vacuum each day. Make the beds each morning.
  • Do the hustle. This is important: you’re going to need to be ready to vacate the house at a moment’s notice. Although you can certainly request an hour or two of notice before a showing, you would be well-served to use that time to do a quick sweep of the house before you leave. Take out the garbage. Straighten the cushions on the sofa. Fluff all the pillows. If it’s wintertime, turn on the fireplace. Make sure the door to each room is open; make sure the doors to each closet are closed. (However, know that prospective buyers will likely still look in the closets, and even in drawers.) If the showing is in the later afternoon or on a dark winter day, it’s a nice touch to leave a light on in each room. Just before you depart, gather any other items—mail, laptops, phones, and that dirty laundry hamper—that you don’t want to be left in the house.

As you get your home ready to sell—and to live in your home while it’s for sale—you have a lot of hard work to do. Just remember: your planning, elbow grease, and willingness to be temporarily inconvenienced will ultimately pay dividends. And soon, perhaps, you will be the one strolling through a stranger’s home, imagining it as your own!

Creating a Welcome Space for Guests

Hard as it is to believe, the holidays are just around the corner. While this year may see less travel, there are still many people who hope to gather their loved ones close (with proper COVID precautions!) during the holidays.

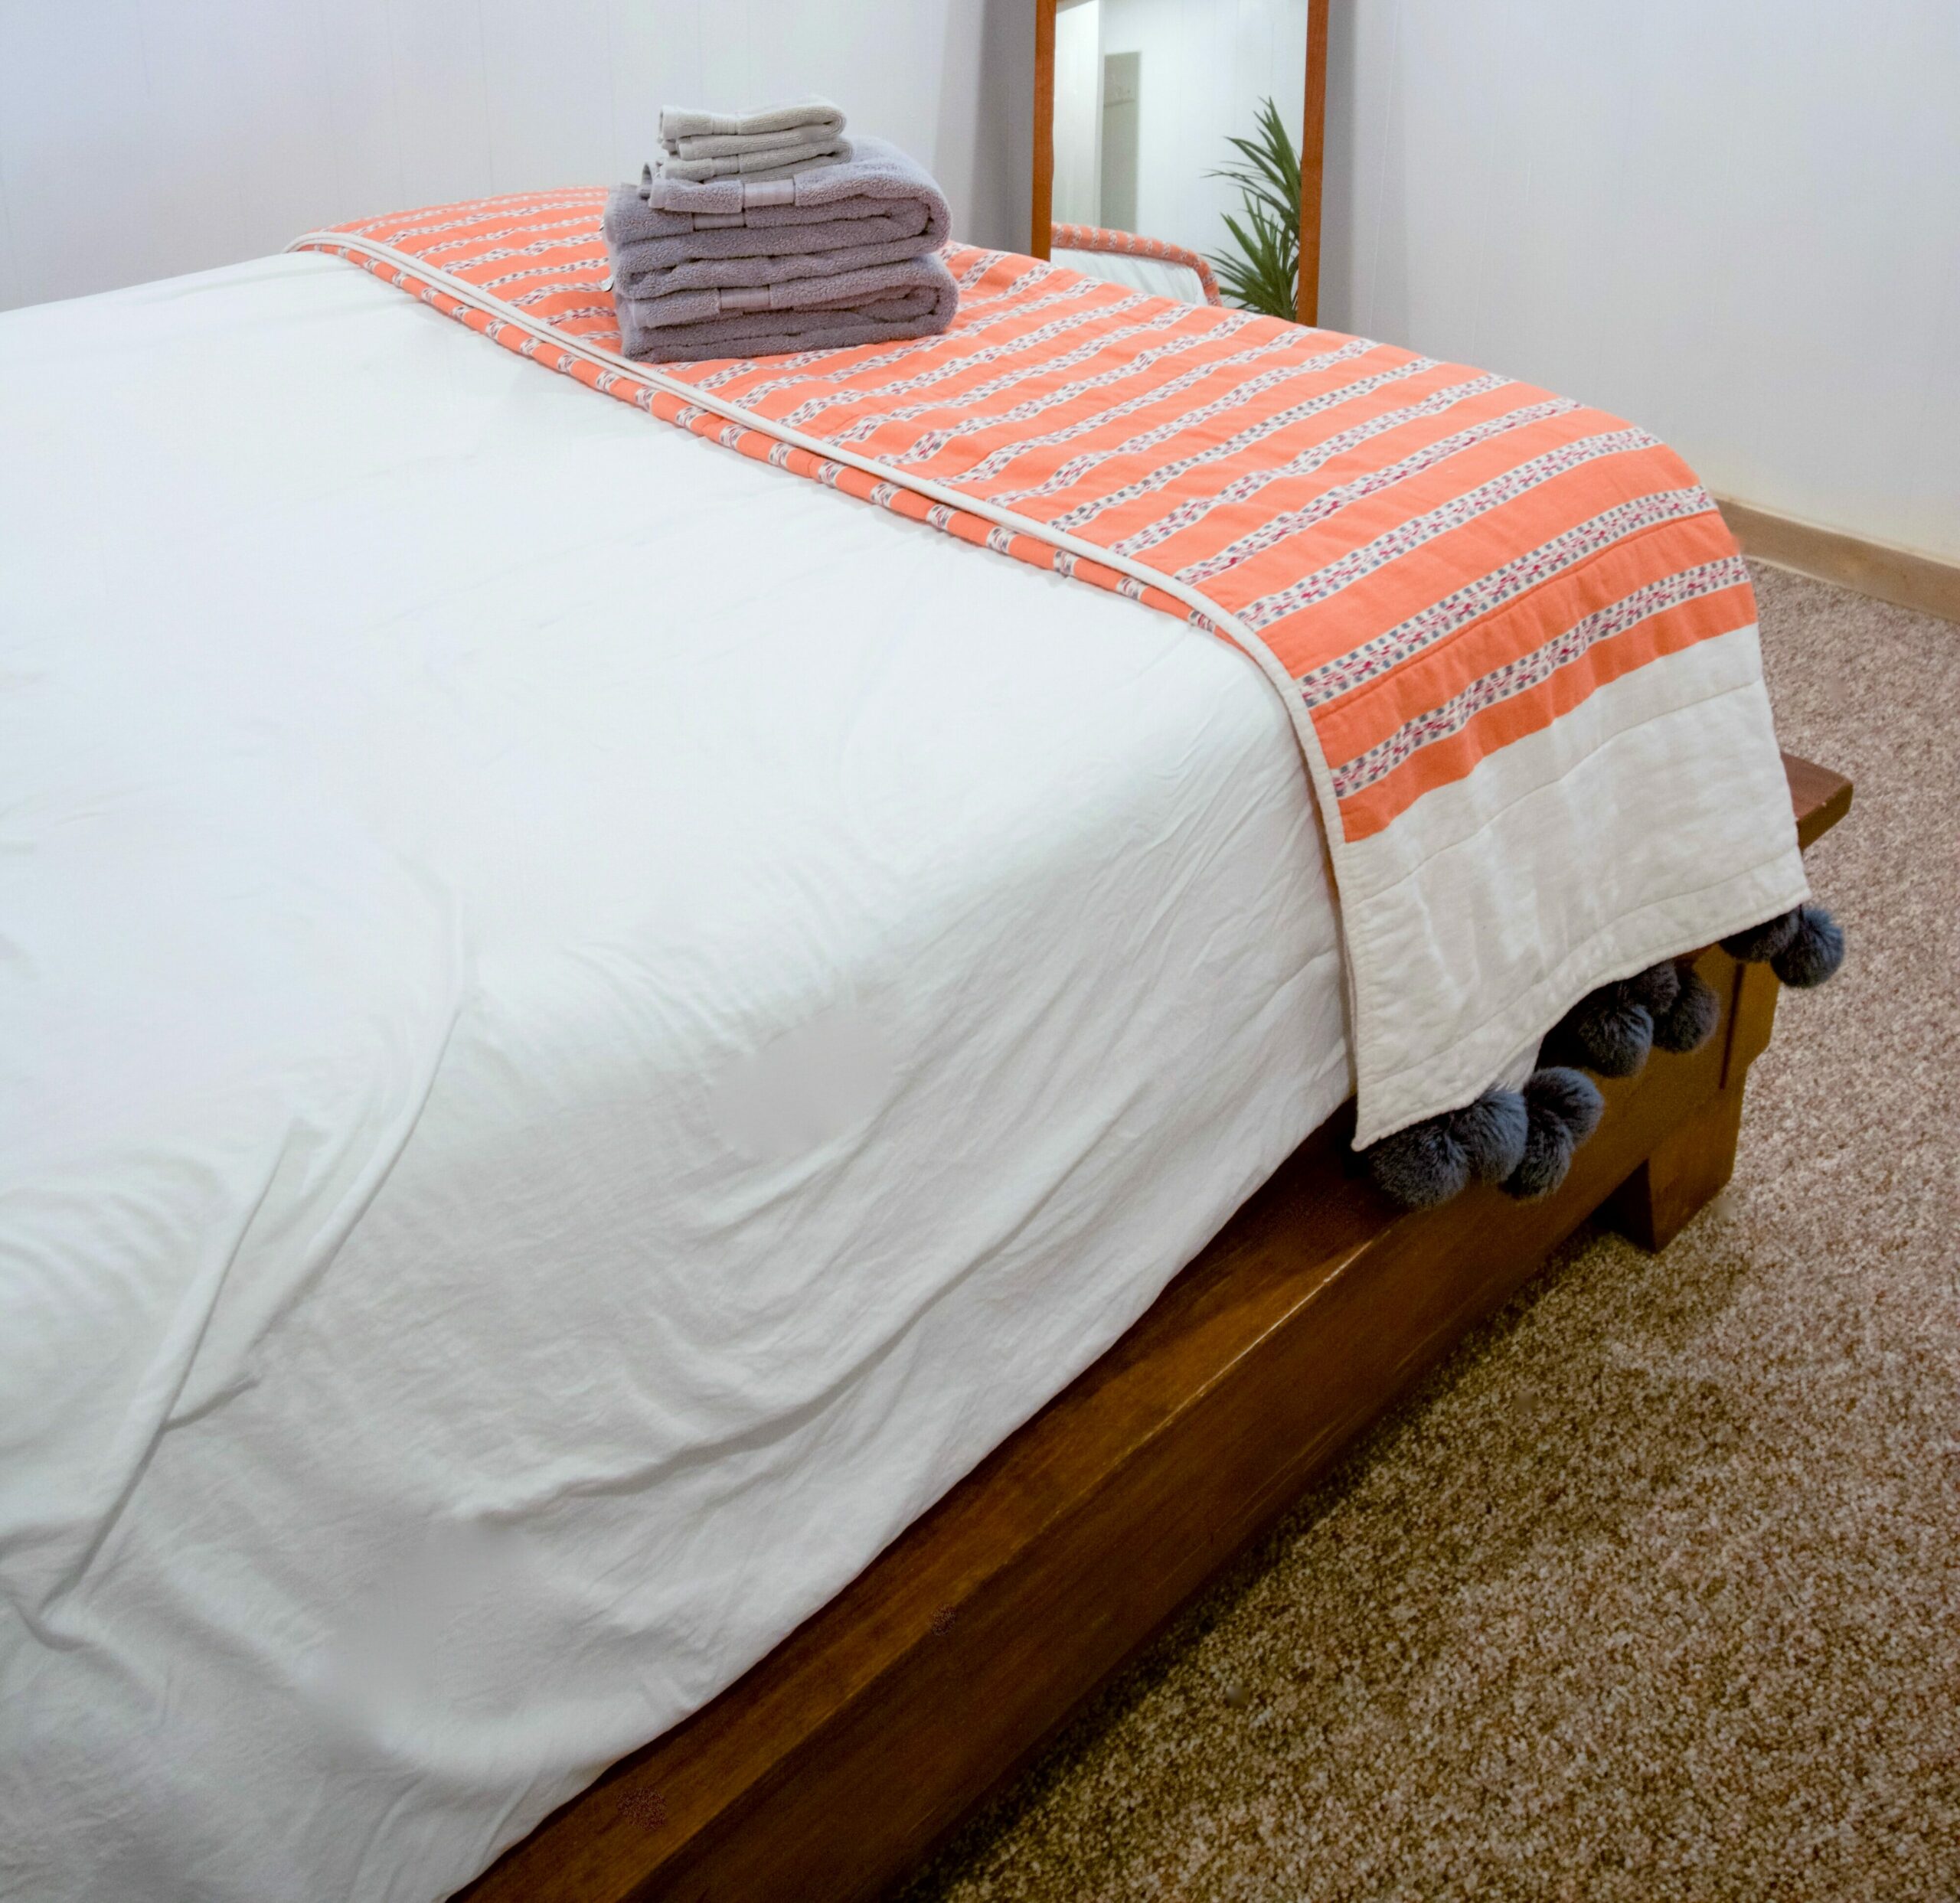
There is an art to making guests feel welcome in your home; create a warm and cozy guest space is a vital part of this. If you don’t have a designated guest room and instead rely on a den or family room, try to make the space as private as possible to give your guests a retreat. A little quiet time can go a long way in preserving harmony when everyone is under the same roof!

Whatever space you have, the bed should be comfortable. Your guests shouldn’t be stuck with your oldest, springiest mattress. Air mattresses can be quite comfortable. Another option for extra comfort is the addition of a memory foam mattress pad. This can be layered atop a mattress on a standard bed or a sofa bed.

Quality bedding is also a welcome luxury for guests. In the cold winter months, flannel sheets and a down comforter provide extra warmth and comfort. In the summer, crisp cotton sheets and a lightweight quilt are ideal. Provide extra blankets—and even a spare set of sheets—to ensure your guests’ comfort. It’s also thoughtful to provide a few extra pillows.

Guests will appreciate space to store their things while they visit. Provide a luggage rack or a bench for suitcases. Spare hangers and an empty drawer or two are also appreciated.

If you really want to go over and above, providing your guests with additional comfort items is a generous gesture. An alarm clock, a pad of paper and a pen, and books or magazines can be placed on the night table. Your guests will also appreciate knowing your home’s wifi password. You might also consider providing a hairdryer, a terrycloth bathrobe, a pair of slippers, toiletries, and thick bath towels.

More than ever this year, we have come to treasure time with the people we love most. If you plan to welcome your friends and family into your home this season, take care of their health and your own, and cherish the opportunity to make them feel loved.

How to Decorate Your New Home

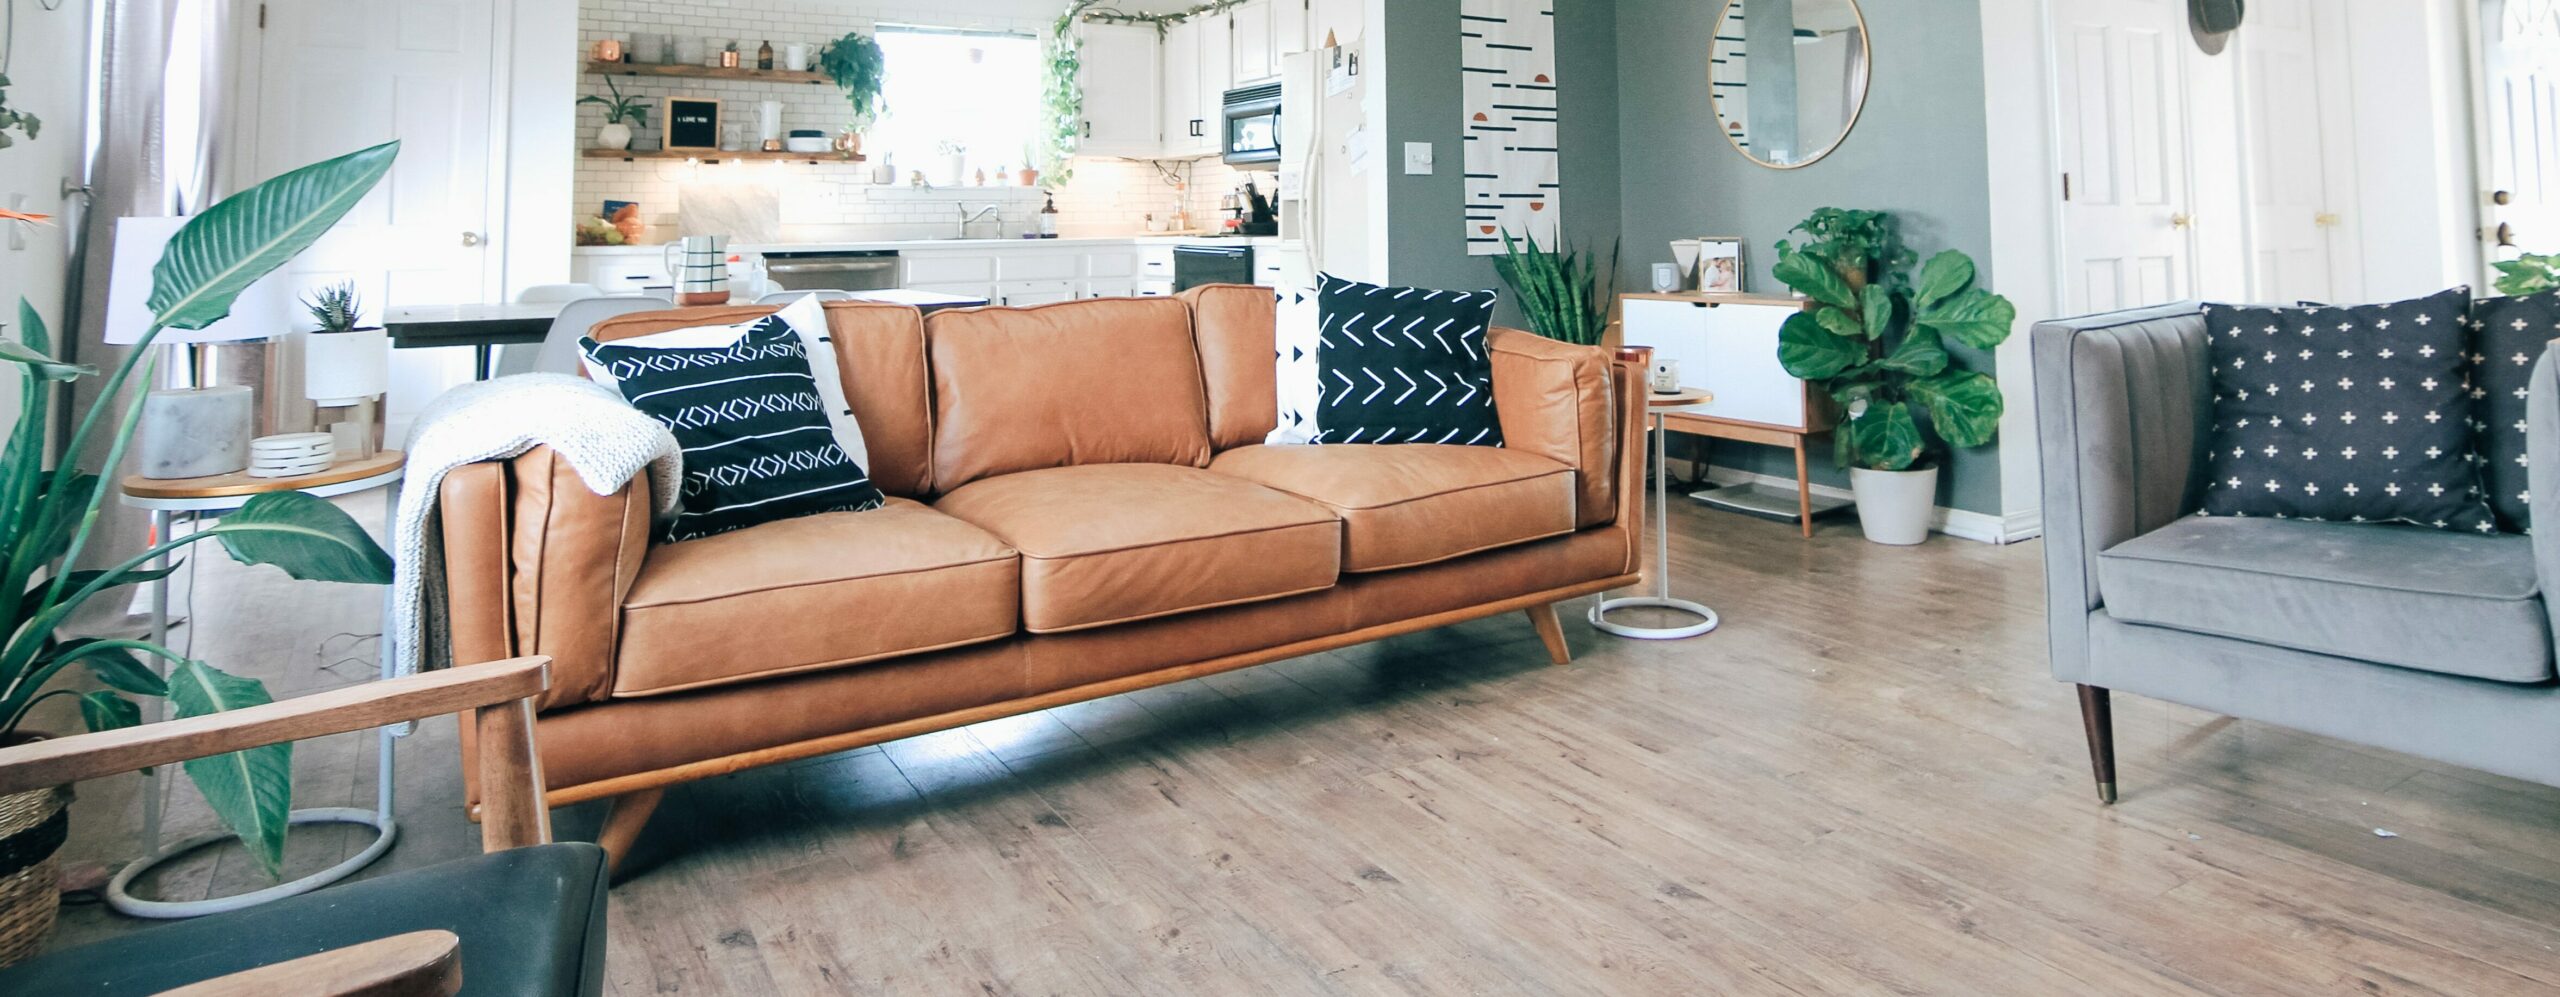
Undoubtedly, part of the fun of house hunting is imagining what your new home will look like. Turning a vision into a reality is often easier said than done, however. No matter how much you may wish to have your home look like a photo in a magazine, careful planning and execution are crucial!

Before you even move into—or make an offer on—a new home, “How do I (or we) want to live?” is the question to ask yourself. Do you want a home that is magazine-like—spotless, stylish? Or is comfort your ultimate desire? Also, consider what style you’re most attracted to. Do you prefer a modern look, or a more traditional vibe, or something else entirely?

Even when you have a good sense of your own style and taste, it can sometimes still be beneficial to start with a blank slate. If you plan to paint before you move in, perhaps consider white or neutral paint throughout the house. You can then make decisions about paint colors after you live in the space and understand how the light impacts each room throughout the day.

Before you do anything else, know the measurements of each room. Then, when you shop for furniture, begin with large pieces—the sofa, the dining table, the beds. Bring a tape measure to make sure the furniture that you are considering will fit in the room it is meant for. To be extra cautious (always a good idea when making an investment!), measure the piece of furniture that you are interested in. Then, go home and use painters tape to plot the dimensions of the furniture item exactly where you plan to place the furniture. You can also request fabric swatches from the retailer so you can see how fabrics and other materials look in the room. These steps will help you to be as sure as you possibly can be about your purchase!

You might consider going room by room, beginning with those that are important to you. Some people may want the family room or living space to be arranged just so, as these are spaces that will be used by the homeowners and visible to guests. Or, you may want to make the bedrooms a cozy retreat from the rest of the world. Whatever your preference, tackling a room at a time can help keep you from feeling overwhelmed.

Of course, a phased approach is also easier on the budget! It also pays to take advantage of the free design services offered by many retailers and to bide your time and wait for big sales.

Remember, a home that is pulled together overnight will often look and feel like a home that was pulled together overnight—staged, forced, not like a real home. It’s alright—preferable, even!—to allow your house to come together over time. It will be perfect no matter what because it’s yours.

A Neighborhood Treasure: Little Free Libraries

A Neighborhood Treasure: Little Free Libraries

With the start of the distance-learning school year, I can’t help but reflect on all of the things our family is missing about being in “real” school this fall. My youngest daughter, a brand-new first-grader, is missing weekly trips to visit the school library with her class. She loves to discover and bring home new books for bedtime reading.

We’re fortunate though: several of Little Free Library boxes are scattered around our neighborhood, always well-stocked, always ready for a curious reader to browse. These little book boxes are beloved and visited often!

Little Free Library began in 2009 in Wisconsin. A gentleman there built a tiny model of a one-room schoolhouse and stuffed it with books. A little over 10 years later, there are over 90,000 book exchanges that are registered/branded as Little Free Libraries!

In COVID times, Little Free Library is a way to share your love of reading with your neighbors! You can build your own Little Free Library in a weekend; you can even purchase a DIY kit from the Little Free Library website, or search online for inspiration. Some of my favorites? A Little Free Library with a green roof, one that is custom-built and painted to match the house it sits in front of, or one with a built-in bench—you don’t have to wait until you’re home to dig into your new novel! Most Little Free Libraries have at least two shelves—one for adult titles and one for children’s titles. And they all operate with an unofficial “leave a book, take a book” agreement.

Keep an eye open for a Little Free Library in your neighborhood—and if you don’t see one, well, that’s all the more reason to build your own!

10 Fall Maintenance Tips: Your Home’s Interior

My family has spent as much time as we can outdoors over the summer months. The same is true for most people I know. We have seized every opportunity to take a walk, go on a hike, read a book outdoors, eat dinner on the deck, visit with neighbors. And it’s not just because of COVID (although that certainly was a factor this year). In the Pacific Northwest, we collectively rush outdoors on the first warm-ish day of early spring, and there we stay until the last warm-ish day of fall. We have to. We know how long and dark the rainy season will be.

While we still (hopefully!) have a month or two of nice weather to enjoy, the rain and chilly weather will return. (And don’t tell—but most PNWers secretly love it.) Before that happens, though, there are some important home maintenance chores to tackle to make sure your home is safe and snug for the winter months. Here’s a handy checklist:

  1. Wash your garbage cans and recycling bins. What? Why? I’ll tell you why: those suckers STINK. And you’re much better off hauling your garbage cans and recycling bins outside to wash and dry in the sunshine while there is still sunshine to be had. Just trust me. Is this fun? No? Is it necessary? Yes.
  2. Clean the oven and fridge. As long as you’re cleaning gross things, might as well tackle the oven and refrigerator. De-scum and de-grease the inside of your oven (be sure to follow manufacturer cleaning instructions). It’s nice to get this done before baking a lasagna—or a Thanksgiving turkey!—this fall. Vacuum your refrigerator coils. Remove the contents of the fridge and freezer and wipe down the shelves and drawers before replacing items. If you’re feeling motivated, you can even move the entire unit and vacuum and mop underneath. Let the floor dry completely before moving the fridge back into place.
  3. Washing machine and dryer maintenance. You don’t do this?! (Yeah—me neither. But you should. I should. We) After all, gunky stuff (technical term) can build up in your washing machine over time. Simply run a hot cycle along with a couple of cups of white vinegar, and then wipe down the inside and doors of the machine. Find more detailed instructions here.  For the dryer, you can also wipe down the inside and outside of the machine with a damp rag. Thoroughly clean the lint trap (do this after every load!). Fall is also a great time to make sure that the dryer vent is completely clear—an important step for fire prevention, and to make sure that the dryer operates as efficiently as possible. Check the manufacturer instruction for how to clear the vent, or else your heating system maintenance provider can usually help with this chore. And speaking of . . . .
  4. Heating system maintenance. You might still be running the AC, but it’ll be time to switch to heating your home before you know it. Now is the time to book routine maintenance for your heating system to make sure everything is in working order. Replace the furnace filter, too. If you have a fireplace, now is the time to check the chimney and flue. (You should also order firewood!) If you have a gas-burning fireplace, vacuum any dust and cobwebs, and follow the manufacturer instructions for cleaning and turning the gas back on.
  5. Seal the house. Your heating system might be in perfect order, but you don’t want to heat the neighborhood, right?! Seal any gaps in your home through which warm air can escape. Add door sweeps and weather-stripping to doors, and caulk windows.
  6. Shut down the A/C. While you’re getting your heating system prepped, it’s also time to remove and store any window air conditioning units. If the unit cannot be removed, consider covering the exterior to help protect the device.
  7. Safety Considerations. Do a check of your home and make sure you’re emergency-ready. Test the carbon monoxide and smoke detectors and replace the batteries as necessary. (I like to replace ours when Daylight Savings begins.) Make sure you know where the fire extinguishers are located—and check to see if they have expired. Replace as necessary. Now might also be a good time to do a radon test, particularly if you live in an older home. High levels of radon in the home can cause cancer. You can schedule a test with a professional, or pick up an inexpensive DIY test. Finally, get your power outage kit ready! Put fresh batteries in the flashlights and headlamps, and know where the matches and candles are. Pro tip: keep a pack of cards handy, too!
  8. Keep your friends out. No, not your actual friends. But know that furry and feathery creatures are eager to come in out of the cold, too. In addition to making sure doors and windows are properly sealed, also make sure that pest screens on dryer and attic vents are intact.
  9. Carpet cleaning. If you’ve had windows and doors open all summer, dust and dirt invariably blow into the house—and much of it settles in the carpet. Early fall is an ideal time to have your carpets cleaned because you can open windows to help quickly dry the carpets. Hire a professional, or rent a steam cleaner.
  10. Clean some more! I know spring cleaning is a “thing,” but I like to do a deep clean of our home in the fall, too—before we’re all indoors for months on end. I follow most of the same tips I share in my Spring Cleaning Checklist.

 Whew! You’ve done the hard work, and you’re ready to enjoy being warm and safe at home, all winter long.

Make an Entrance: Create a Welcoming Entryway to Your Home

As a real estate agent, I spend more time than most walking up to and into different houses. There are some houses where, based on the exterior, I frankly don’t know what I’ll find on the other side of the front door. On the other hand, some houses that capture my interest from the moment I pull up to the curb—homes with an exterior that welcomes me in, making me feel eager to see the rest of the house.

That feeling is something special. Whether arriving home to your own house or as a guest as someone else’s, you want to feel pulled in, a sense of welcome. After all, no one wants to walk through a cobweb or trip over a pile of shoes! No matter whether your home boasts a grand foyer with two-story ceilings, or a simple front door that opens to a narrow hallway, you can cultivate a welcoming feeling in your home.

It all starts outside. As I mentioned, some houses make me practically jump from my car before the wheels have stopped! What elicits that reaction? There are a few key elements to attend to:

  • There should be a clear pathway to the front door.
  • As an agent, I’m a sucker for a clean, freshly-painted, cheerful front door.
  • A fresh welcome mat is a nice touch (if your welcome mat is grimy and frayed, it’s time to replace it!).
  • A pretty wreath or a container of flowers is a lovely touch.
  • Clearly displayed house numbers should be clearly displayed, an important safety consideration in the unlikely event you require an emergency responder, but also for service providers or guests who may be visiting for the first time.
  • Exterior lighting is essential; people should be able to get from a parked car to the front door without having to feel their way along.

Attention to these simple details indicates that your home is well-maintained and cared for—and the people who enter will feel that they, too, will be cared for!

The other side of the front door.

You (or your guests!) have now made it to the front door. Now, what’s on the other side? Again, simple elements create a feeling of ease and welcome.

  • If yours is a no-shoes home, make sure there’s space to stash shoes—a basket, a tray, or a rack. This will prevent piles of shoes from creating a tripping hazard in front of the door. It clearly indicates to guests where to place their shoes.
  • If you’re lucky, you have a coat closet near the front door. Even if you do, though, wall hooks or a coat rack provide a simple place to quick stash jackets, handbags, backpacks, even your bike helmet. And again, guests will understand at a glance where they are to stash their things while they are in your home.
  • Other items further add to the comfort and utility of the entryway. A chair or bench offers a place to sit down while donning or removing shoes. A narrow table can hold a lamp (it’s nice to keep a light on when you’ll be returning home late at night), and a basket for mail or keys. A mirror is handy to check your reflection on the way out the door. And a personal photo or an interesting piece of art reflects your style!

Are you looking for a weekend project?! Consider the entryway—both inside and outside of the house—with a critical eye, and devote a few hours to refreshing and organizing to create a sense of welcome.

8 Tips for an Energy-Efficient Home

If you’ve bought or sold a home in the last year or two in the city of Portland, or if you’ve just cruised real estate listings online for fun (I know—I do it, too!), you have probably noticed “HES” accompanied by a number in the home descriptions. “HES” stands for “Home Energy Score.” Beginning in 2018 in Portland, sellers of single-family homes are required to obtain and disclose a Home Energy Report. 

What information is included in a Home Energy Report? This report provides valuable estimates of a home’s energy use and costs and provides cost-effective solutions that improve a home’s efficiency. And what is the point of this, you might ask? In practical terms, it helps future homeowners to avoid surprises like outrageous heating bills the first winter. More broadly, it encourages homeowners to maintain an energy-efficient home—and our collective efforts can have a large positive environmental impact click here for more information on how maintain an energy efficient home.

If you’re buying or selling a home then, it’s important to educate yourself about home energy efficiency. However, it’s just as important for homeowners who have every intention to stay put to take steps to improve their home’s efficiency. It’s good for the environment—and it puts money back in your pocket in the form of reduced energy usage and lower utility bills! Read on for actions you can take to improve your home’s energy efficiency:

  1. Ghost Power. Pop quiz: how many cell phone chargers are plugged into a wall outlet in your house without a smartphone attached to the other end?! I’m guilty of this. You are too—don’t try to pretend otherwise! In fact, in the average home, there are electric items all over the place sucking up power when they’re not being used: coffeemakers, toasters, televisions, lamps. You get the idea. The solution? A simple power strip. Well, a simple power strip + a bit of effort in training yourself to flip the power strip switch to off after you’ve brewed coffee and toasted a bagel in the morning. Sure, it might take some time to save enough energy to pay for the power strip. I have a vague recollection of a bin of random, unused cords and power strips in my garage, however—and that means that with $0 and about 20 minutes of effort, I can easily reduce my home’s energy usage.
  2. Lightbulb Moment. When LED lightbulbs first came on the market, they were expensive—really expensive. And they weren’t that attractive, to be honest. The average cost of an LED bulb has come down over the years, and the options have expanded so that there is an LED option for nearly every type of lighting fixture. Plus, an Energy-Star rated LED bulb can save you up to $75/year in energy costs. These bulbs use much less energy and last significantly longer. If you don’t want to drop dough to replace every single bulb in your house at once, then commit to replacing your standard incandescent lightbulbs with LEDs as the incandescent bulbs burn out!
  3. Smart Heating and Cooling. We installed a smart thermostat a couple of years ago. At first, I felt a little like a future-living Jetson, but when we arrived back in Oregon to near-freezing temperatures following a trip to balmy Southern California, we were able to turn up the heat via smartphone as soon as we landed at PDX and walk into our warm, snug house an hour later. However, a smart thermostat does far more for you. You can program your heating and cooling systems to operate when you need them—and to power down when you don’t, adding up to big savings.
  4. Furnace filter. Out of sight, out of mind. Changing the furnace filter is not a task that usually makes it onto my to-do list. At least, it wasn’t until I learned that this simple chore drastically increases furnace efficiency—which means my house is warmer and my gas bill is lower. Here’s what you do: first, go look (right now!) to see what size furnace filter your furnace needs. Next: open the calendar on your phone; set a reminder to change the furnace filter on September 1st, December 1st, and March 1st. (Experts say that you should replace the filter every 4 months, but here in Oregon, our heat is usually off by mid-May, so I cheat as the weather warms up. Check your owner’s manual and follow the recommendations!) In your calendar, make a note of the filter size so you don’t find yourself guessing at the hardware store. (Pro tip: order a multi-pack of filters so you always have extras on hand.)  You should also consider having your furnace assessed and serviced before cold weather kicks in again—an important home maintenance task that will help to keep your home’s heating system running efficiently.
  5. Seal the leaks. Do you live in a Goldilocks home that always feels too cold or too warm—never “just right.” Chances are, air leaks are to blame. Air leaks occur in those little (and sometimes not-so-little) cracks and gaps around your home—around doors and windows, in attics and crawl spaces, and even where wires and pipes enter your home from the main lines. Some of these air leakage areas might be easily identifiable (and easily fixable). For example, if you can see daylight around the edges of an exterior door, it’s probably time to replace the weather stripping for a tighter seal—an inexpensive and fairly simple DIY project. For help identifying areas of greater concern, consider investing in a professional home energy audit.
  6. Appliance usage. Around my house, the laundry and dishes pile up fast, especially now that we’re home so much more. While we try to stay on top of the mess, we wait until later in the evening—after peak usage hours—to run the dishwasher and washing machine. This simple change to our daily household routine means that we’re doing our part to reduce the strain on the energy grid.
  7. Smart appliances. Of course, running appliances in non-peak hours has a limited impact if the appliances themselves are inefficient. As you update old, out-of-date appliances in your home, be sure to look for Energy Star appliances. Bonus: many Energy Star appliances come with significant rebates!
  8. Give it a rest. “It” being your computer, of course. The soft glow of your laptop monitor is not a good nightlight. When you’re done working for the day, put your computer to sleep (or power it off entirely!). This simple practice saves energy, but has the added benefit of helping you to mentally end your workday—a good practice, especially for those who are still adjusting to working from home!

There are dozens of other ways to increase your home’s energy efficiency. More and more homeowners are installing solar panels to generate electricity, installing low-flow showerheads and toilets to minimize water usage, and more. Assess your home (or have a professional do it!), make a to-do list and prioritize the items on it, and take the first step toward a greener, more efficient home. As always, I’m here to help with recommendations and referrals!


Sharon Bloudek, Licensed in the State of Oregon

503-701-1000 (mobile)